 inference · 16.0s
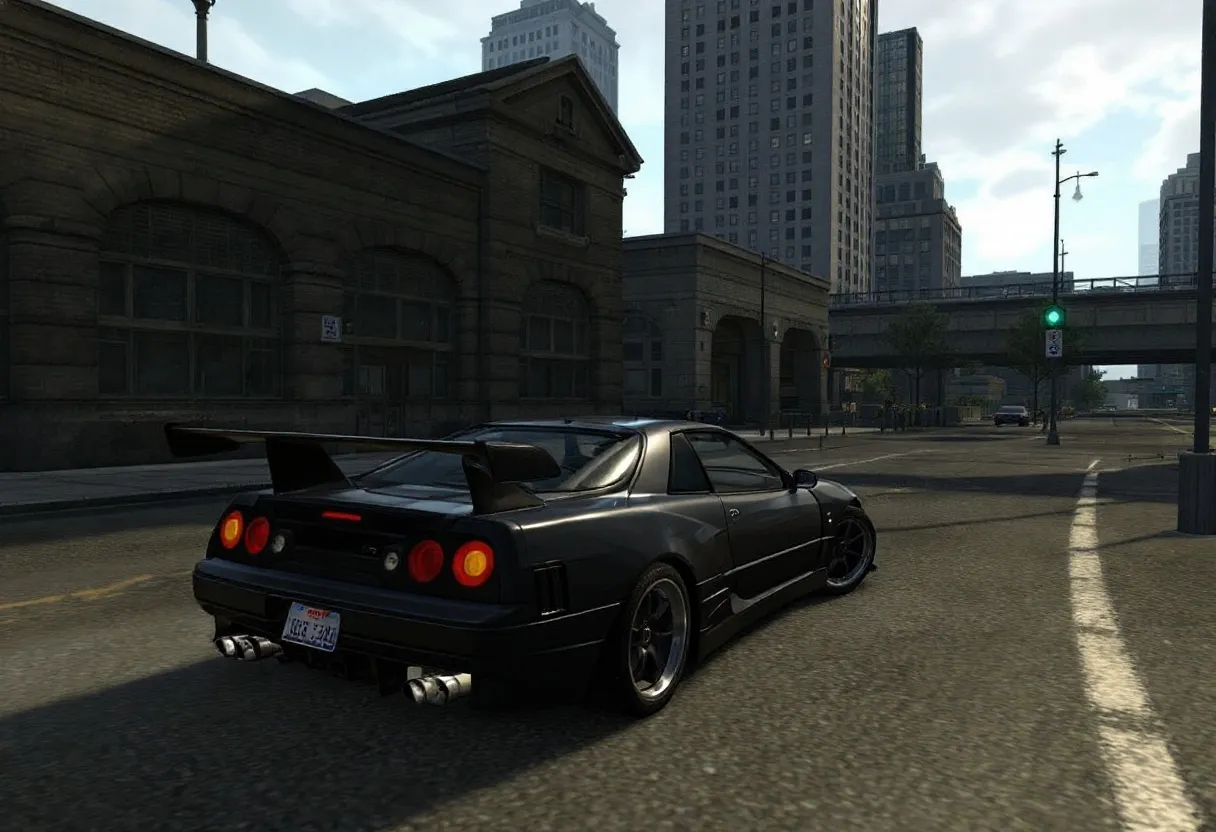
Flux Canny Pro
Flux Canny Pro Model delivers accurate edge detection for precise outlines and detailed image edits
- Runtime (p50)
- 15s
- Estimated price
- $0.05
Overview
flux-canny-pro — Image-to-Image AI Model
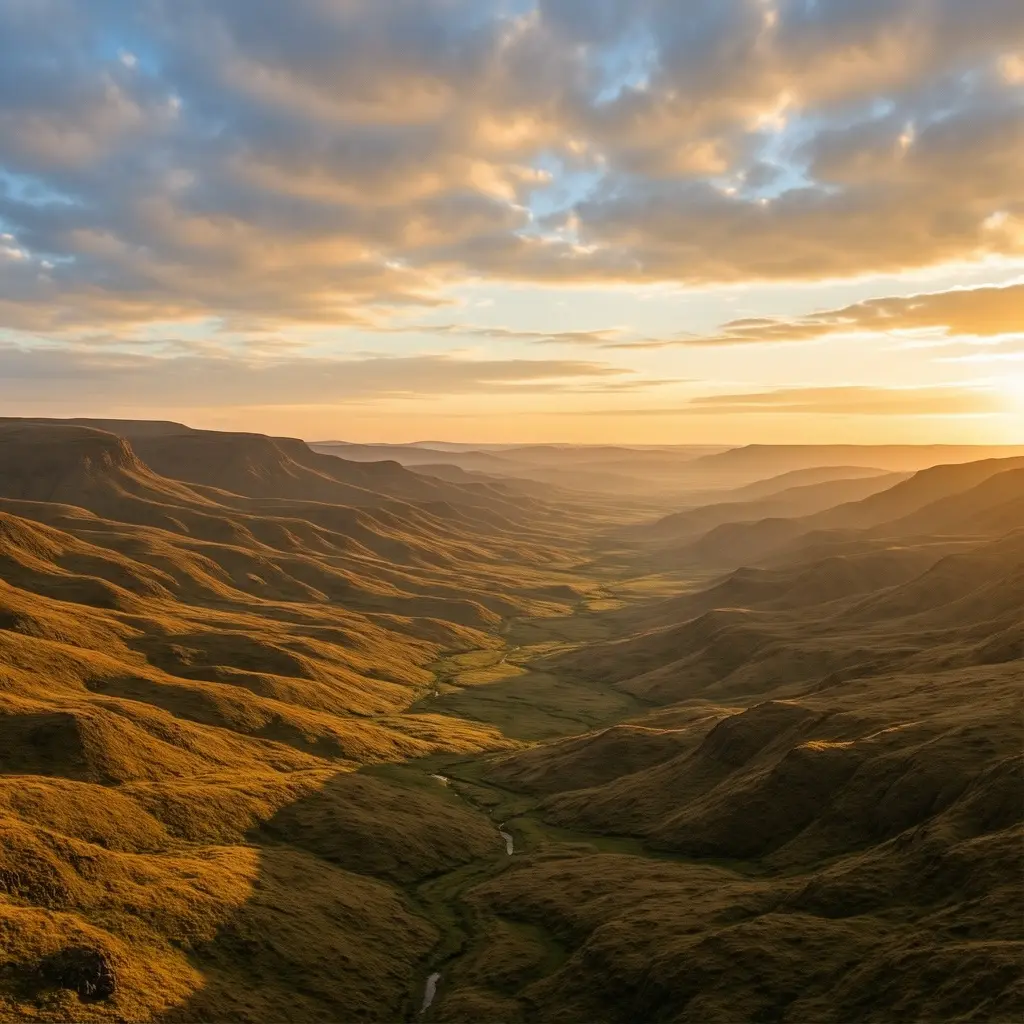
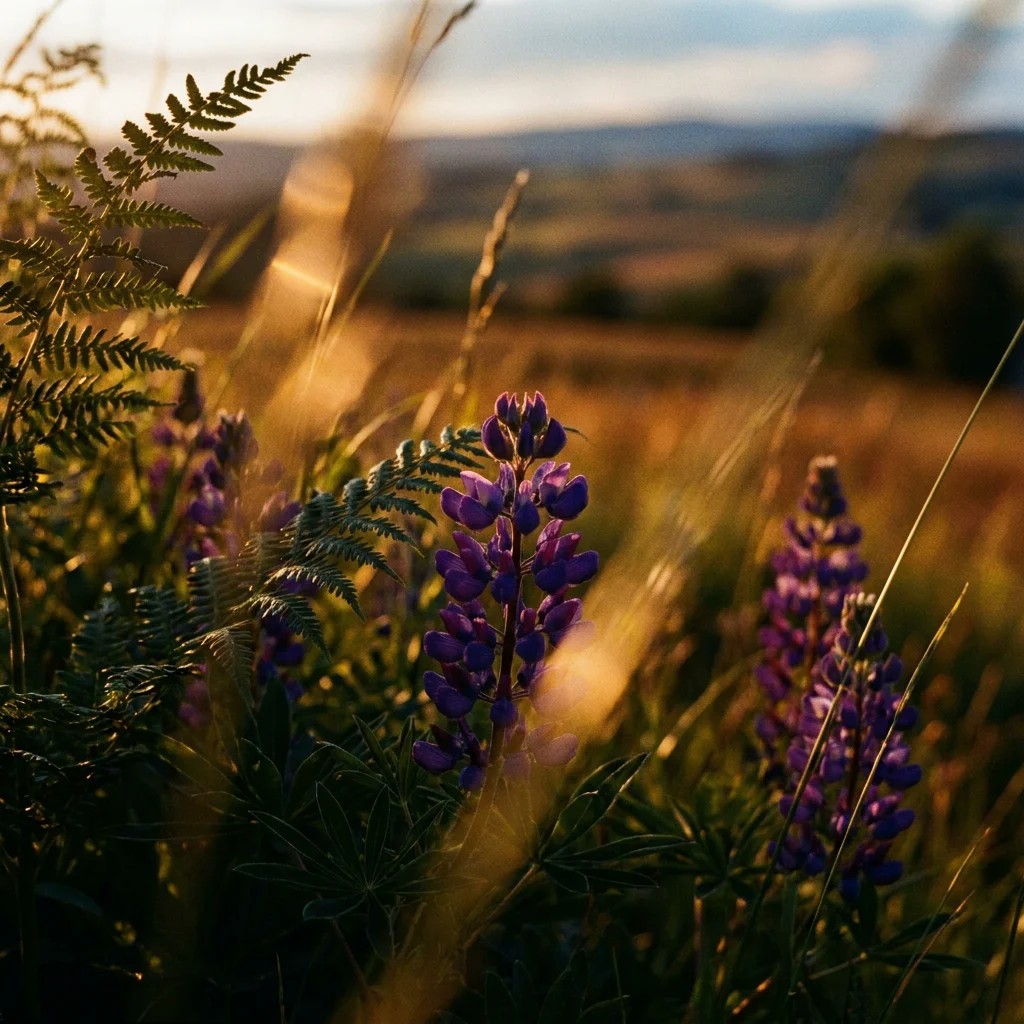
flux-canny-pro from Black Forest Labs empowers precise image editing by leveraging advanced Canny edge detection to generate accurate outlines and structured transformations from input images. Part of the innovative flux-canny family, this image-to-image AI model excels in maintaining structural integrity while applying creative modifications, ideal for developers seeking an AI image editor API with reliable edge control. Users provide a reference image and text prompt to produce high-resolution outputs up to 4MP, revolutionizing workflows in Black Forest Labs image-to-image applications like sketch-to-render or photo restyling.
Capabilities
Creates stunning visuals from a mix of images and text.
Provides flexibility for creative and professional applications.
Supports multiple output formats for various use cases.
Use cases
Use Cases for flux-canny-pro
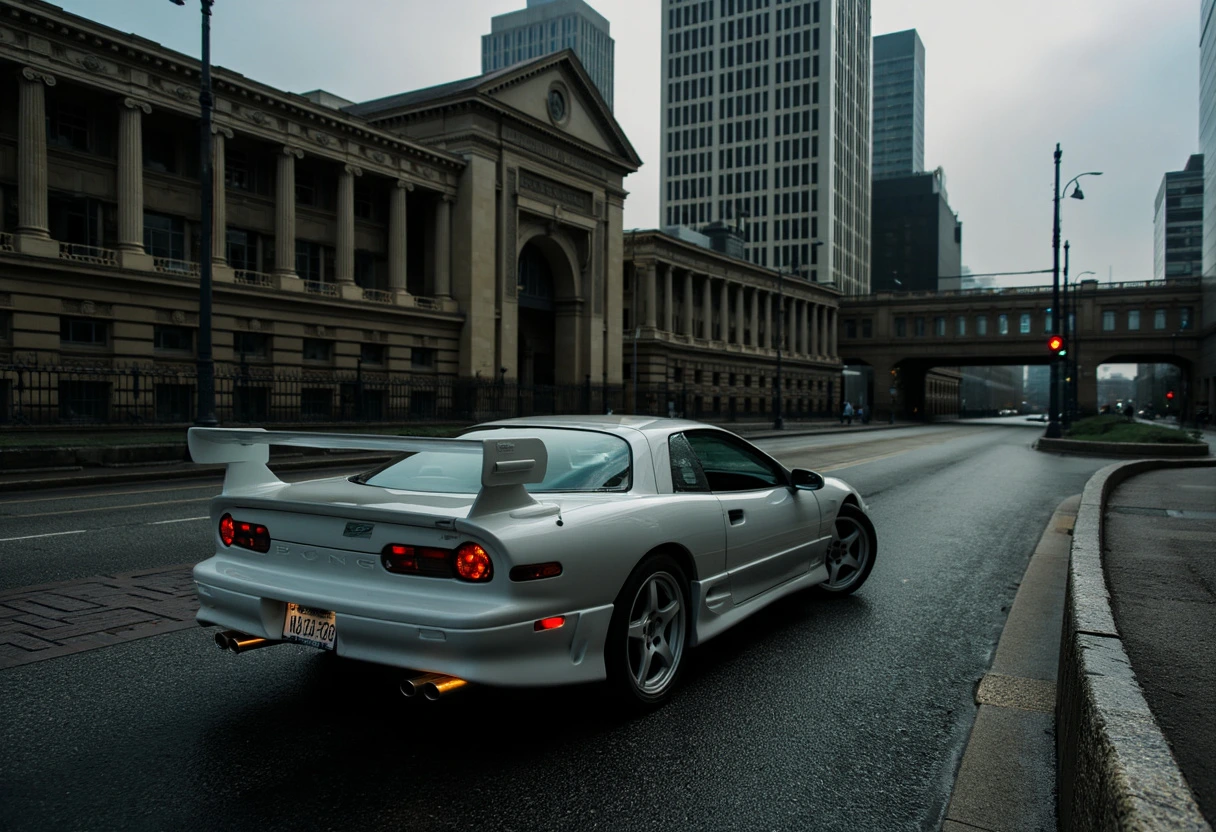
Designers refining sketches into photorealistic renders use flux-canny-pro by uploading a line drawing and prompting "convert this architectural sketch to a modern glass building at dusk with interior lights glowing," preserving exact edges for precise visualizations in AI photo editing for e-commerce product mockups.
Developers building an image to image AI model for apps feed user-uploaded photos with prompts like "restyle this portrait to cyberpunk neon aesthetic while keeping facial structure," leveraging Canny control for identity-consistent edits without retraining.
Marketers creating ad variants input product images and specify "place this shoe on a rainy urban street reflecting neon lights, maintain sole tread details," generating diverse assets quickly via edge-guided transformations that rival manual Photoshop work.
Game artists prototype environments by providing edge maps from concept art and directing "populate this fantasy castle outline with ivy-covered stone walls and torchlight," ensuring structural fidelity in high-res outputs for rapid iteration.
Tips & tricks
How to Use flux-canny-pro on Eachlabs
Access flux-canny-pro seamlessly on Eachlabs via the Playground for instant testing, API for scalable integrations, or SDK for custom apps. Upload a reference image, add a descriptive prompt, set controlnet-strength (default 0.4) and Canny thresholds, then generate high-res edge-preserving edits in seconds—outputs deliver 4MP photorealistic quality ready for production.
---Technical spec
What Sets flux-canny-pro Apart
flux-canny-pro stands out in the image-to-image landscape through its specialized Canny ControlNet integration, delivering superior edge preservation compared to standard diffusion models. This enables pixel-perfect structure adherence in edits, allowing transformations that retain outlines even in complex scenes—unlike generic models that blur details.
Built on Black Forest Labs' hybrid architecture with 12 billion parameters, it supports high-resolution outputs up to 4MP photorealism and efficient processing on capable hardware, often under 20 seconds for 1024x1024 images. Developers benefit from adjustable controlnet-strength (0.0-1.0) for fine-tuned influence, ensuring predictable results in automated image editing API pipelines.
- Precise Canny edge detection with tunable thresholds (low: 0.2-0.5, high: 0.5-0.8) preserves outlines in sketches or photos, enabling stable guidance for architectural designs or line art without distortion.
- Multi-ControlNet compatibility chains with depth or segmentation for high-res conditioning, outperforming single-control alternatives in detailed, large-scale edits.
- Fast quantized inference (3-8 bit) reduces memory use while maintaining quality, ideal for production-grade flux-canny-pro API deployments on varied hardware.
Things to be aware of
- Detailed Scenarios: Combine prompts like "a futuristic city skyline" with a control_image for context.
- Guidance Exploration: Adjust guidance for outputs that range from freeform creativity to precise control.
- Iterative Refinement: Use moderate steps for previews, then increase for the final output.
- Hybrid Inputs: Experiment with blending descriptive prompts and high-quality images to create unique designs.
Key considerations
- Prompt Clarity: Vague prompts may result in unexpected outputs. Be specific and descriptive.
- Steps vs. Time: Higher steps values improve quality but require longer processing times.
- Guidance Balance: Excessive guidance may limit creativity; experiment to find the ideal balance.
- Control Image Quality: Ensure uploaded images are high-resolution and relevant to the desired outcome.
- Safety Tolerance: Modify cautiously to prevent undesired content from being generated.
Legal Information
By using this model, you agree to:
- Black Forest Labs API agreement
- Black Forest Labs Terms of Service
Limitations
- Abstract Prompts: May struggle with interpreting highly abstract or ambiguous descriptions.
- Processing Demands: High steps or large outputs require significant computational time.
- Safety Overrides: Disabling or lowering safety_tolerance increases the risk of generating unintended content.
Output Format: JPG,PNG